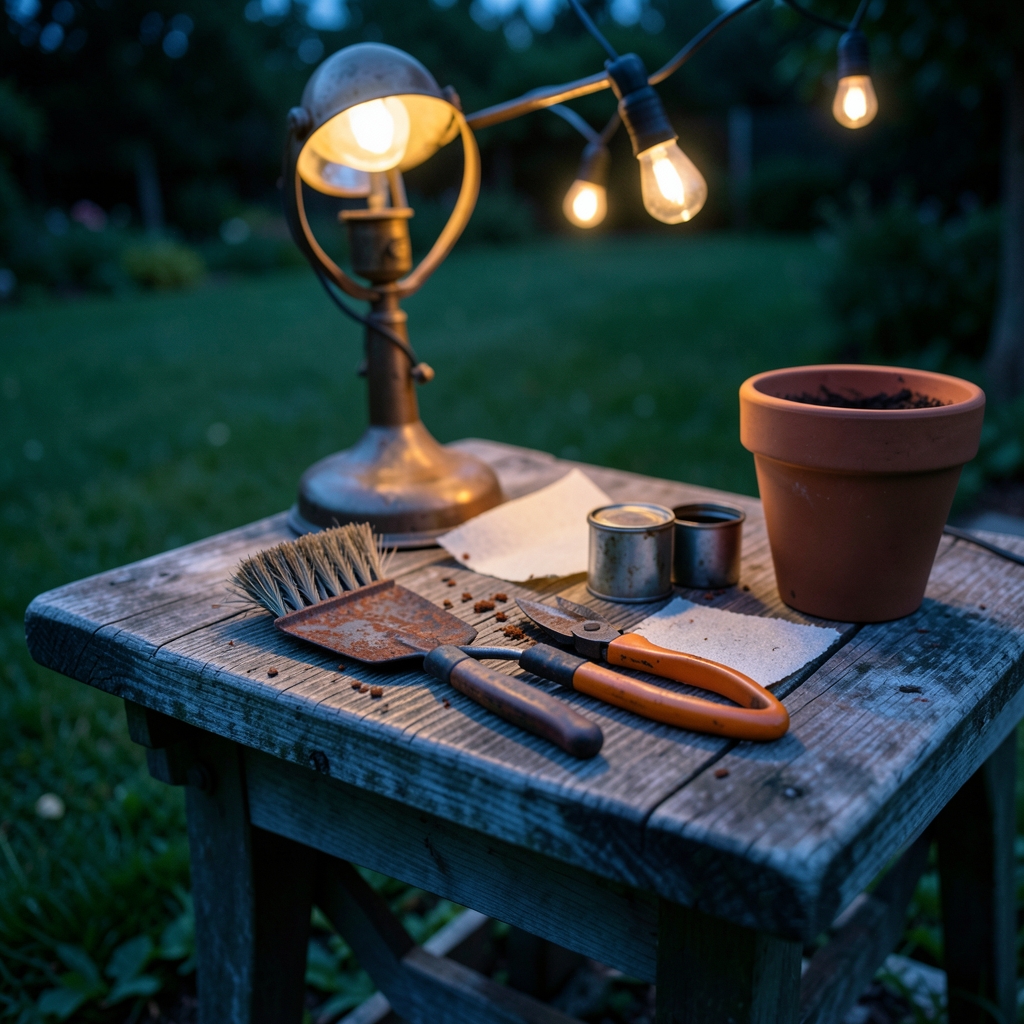
Have you ever reached for your favorite trowel or pruning shears after a wet season, only to find them coated in a gritty orange layer that seems to have appeared overnight? Rust is one of the most common frustrations for anyone who works outdoors, yet it is also one of the most preventable and treatable problems. With the right approach, most rusty tools can be restored to full working condition in an afternoon, and a few simple habits will keep them that way.
Our platform provides tools to measure your internet speed and performance accurately, and we apply the same step-by-step approach to practical problems like this one. Below, we explain the science behind rust, removal methods that work, mistakes that damage tools, and a prevention routine that saves hours of scrubbing later.
Why Garden Tools Rust So Quickly
Rust is hydrated iron(III) oxide, and it forms when iron is exposed to both oxygen and water at the same time. The overall reaction is commonly written as 4Fe + 3O₂ + 6H₂O → 4Fe(OH)₃, which then dehydrates into Fe₂O₃·nH₂O, the familiar reddish-brown flaking layer. In plain terms, moisture plus air plus bare steel equals corrosion, and garden tools are exposed to all three constantly.
What makes garden tools especially vulnerable is that they rarely dry completely. Soil holds moisture against the metal, sap and plant residue trap water on blades, and tools are often left outside or stored in sheds where humid air circulates freely. Every scratch in a protective coating becomes a starting point, because bare steel offers no resistance once the surface layer is compromised.
Understanding this chemistry matters because it explains why some removal methods work and others fail. Abrasives remove the oxide physically, while acids dissolve it chemically. Both approaches have a place, and choosing the right one for each tool is the difference between a restored edge and a ruined one.
“Rust is hydrated iron(III) oxide, formed when iron meets both oxygen and water.” — Wikipedia, Rust
Start With an Accurate Assessment Before You Touch Anything
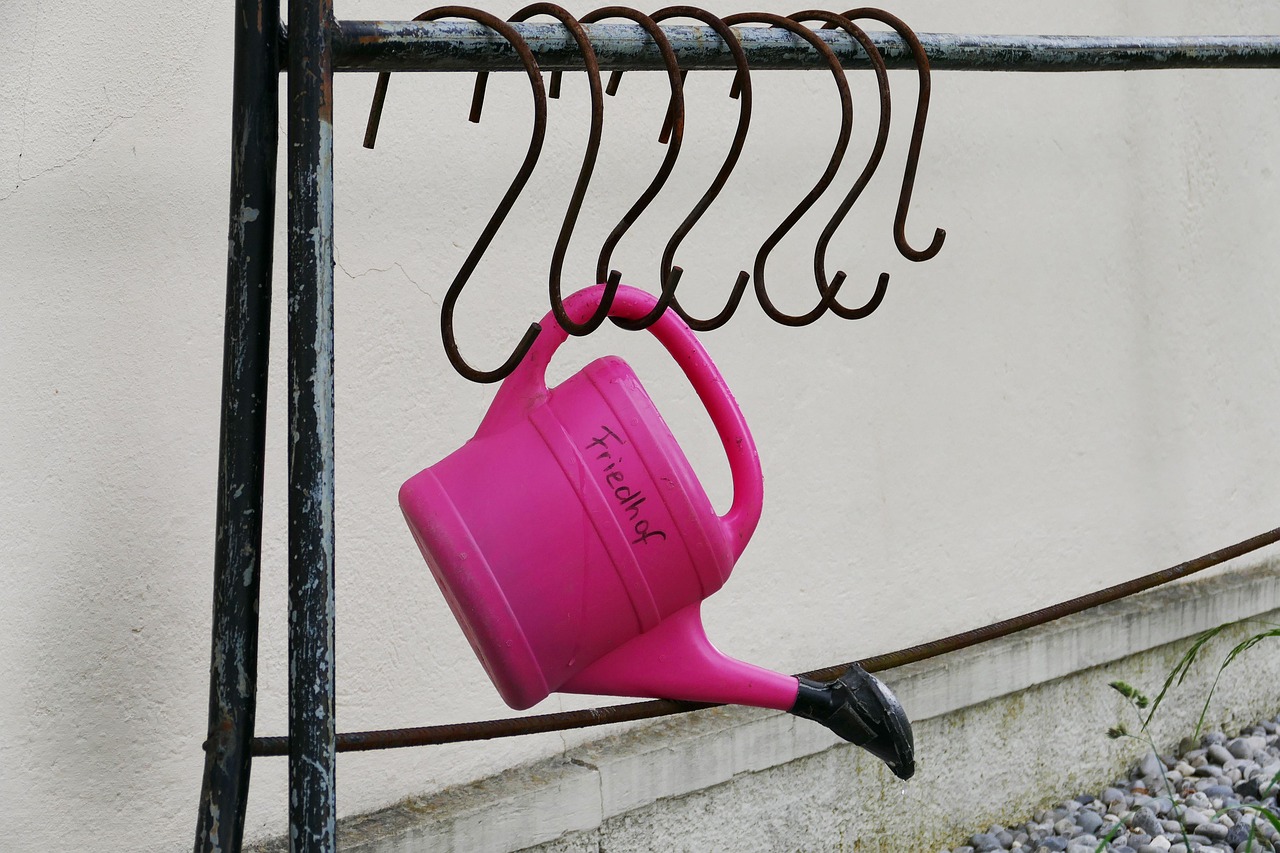
Before reaching for a wire brush, take a moment to assess what you are dealing with. Light surface rust, the powdery orange film on a shovel blade, is straightforward to remove. Deep pitting, where the metal has actually been eaten away, is a different problem and may mean the tool is beyond safe repair. A quick visual check under good light tells you which category you are in.
We recommend separating tools into three groups: surface rust only, moderate rust with some pitting, and heavy corrosion that has compromised the structure. This simple sorting step prevents the common mistake of attacking a delicate cutting edge with the same aggression used on a mattock head. It also helps you plan your materials, since different categories call for different methods.
Check moving parts carefully as well. Rust inside the pivot of secateurs or the hinge of loppers is often worse than what you see on the outside, and forcing a stiff joint can bend or snap the mechanism. A few drops of penetrating oil applied before any cleaning will loosen the joint and make the whole job easier.
Mechanical Removal: The Standard First Step
Wire brushes, steel wool, and abrasive pads physically lift rust from the surface, and this remains the standard first step for most tools. Abrasives harder than the rust scale work faster, but they can also scratch steel, so grit choice matters enormously. Use coarser abrasives on flat, heavy surfaces and much finer grits anywhere near a cutting edge.
Follow this sequence for best results:
- Brush off loose dirt and dried soil with a stiff nylon brush before any metal touches the tool.
- Apply a little oil or water to suppress dust, then work the rusted area with steel wool or a wire brush.
- Switch to silicon carbide paper for stubborn patches, starting coarse and finishing fine.
- Work along the length of the blade rather than across it to avoid deep cross-scratches.
- Wipe the surface clean and inspect before deciding whether a second pass is needed.
The most common mistake here is over-aggression. People attack a fine cutting edge with a coarse wire wheel and remove more good steel than rust, leaving a blade that will never hold an edge properly again. Patience with finer abrasives always beats speed with coarse ones. Reserve the heavy abrasives for thick tool heads where surface finish does not affect performance.
Acid Soaking: Dissolving Rust Without Abrasion
Acids dissolve rust without abrasion, which makes them suitable for small recesses, engraved surfaces, and tools with fine details that a brush cannot reach. Household white vinegar, typically around five percent acetic acid, is the most accessible option and works well for overnight soaks. Citric acid and phosphoric acid are also widely used, each with distinct advantages.
Phosphoric acid deserves special mention because it does more than dissolve rust. It converts rust into iron phosphate, a stable dark coating that can be painted over, which is the basis of commercial rust converter products. For tools that will be repainted or stored long-term, this conversion approach offers lasting protection rather than just a clean surface.
| Method | Best For | Typical Soak Time | Watch Out For |
|---|---|---|---|
| White vinegar | Small tools, parts with fine detail | Several hours to overnight | Can dull finishes with long exposure |
| Citric acid solution | Delicate or detailed items | A few hours | Requires thorough rinsing |
| Phosphoric acid | Tools to be repainted | Minutes to short soaks | Leaves a dark phosphate coating |
| Electrolysis | Heavy rust on solid steel | Several hours | Needs ventilation and care |
Always test any acid on a small hidden area first, and always rinse thoroughly afterward. Residual acid continues working quietly, eating into good metal long after you have dried the tool.
Electrolysis for Heavy Rust
Electrolysis is a documented and well-established rust-removal method for heavily corroded items. The setup uses a DC power supply, a sacrificial iron or steel anode, and an electrolyte such as washing soda dissolved in water, with the rusty tool connected as the cathode. The process lifts rust cleanly from complex shapes without the abrasion that damages fine surfaces.
This method suits solid steel tool heads, old axes, and heavily rusted implements where mechanical removal would take hours. It is less suitable for tools with delicate tempering, mixed metals, or painted finishes you want to preserve. Safety deserves genuine attention here: the process produces hydrogen gas, so work in a well-ventilated area and keep all sparks and flames well away from the container.
Electrolysis rewards careful setup and punishes shortcuts. Keep the anode clean, maintain the correct polarity, and never leave the process running unattended for extended periods. Once finished, scrub lightly, dry immediately, and oil the surface without delay, because freshly cleaned steel flash-rusts astonishingly fast.
“Electrolysis uses a direct current to drive a non-spontaneous chemical reaction.” — Wikipedia, Electrolysis
Common Mistakes That Damage Garden Tools
We see the same errors repeatedly, and each one shortens a tool’s working life. Avoiding them is often more valuable than any removal technique.
The first is leaving tools to soak far longer than needed. Vinegar left on a blade for days will pit the steel and strip protective finishes. The second is using the wrong abrasive on cutting edges, which removes hardened steel and ruins the temper. The third is skipping the drying step, so rust begins reforming before the tool is even put away.
Another frequent error is ignoring the ferrule and socket, the joint where the handle meets the metal head. Moisture collects there, rust spreads unseen, and eventually the head works loose. A few seconds spent drying and oiling that junction prevents a repair job that takes an hour.
Finally, many people treat rust removal as a one-time event rather than part of a routine. Tools that are cleaned, dried, and oiled after every use rarely develop serious rust at all. Prevention is genuinely less work than cure.
Prevention: The Routine That Actually Works
Prevention matters more than removal, and the routine is refreshingly simple. Dry tools thoroughly after every use, apply a thin oil or wax coating to metal surfaces, and store everything in a dry place. That three-part habit prevents the vast majority of rust problems before they start.
For storage, keep tools off concrete floors, which wick moisture upward, and hang them where air circulates. A wooden rack or wall-mounted rail works well. If your shed is damp, a small dehumidifier or even a bucket of moisture-absorbing material makes a measurable difference over a season. For a deeper look at how digital tools and diagnostics are changing the way people maintain equipment, our guide to the latest AI tools 2026 features and software updates offers useful context on tracking maintenance schedules. (Bulk v3 0504 latest ai tools 2026 features and software updates)
A light coat of oil applied with a rag after each use takes under a minute. For long storage, a slightly heavier coating of wax or grease on blades and joints provides better protection. Reapply after any sharpening, since fresh abrasive work exposes bare steel.
Some gardeners keep a small maintenance kit by the door: a rag, a bottle of oil, and a stiff brush. When the kit is within reach, the habit sticks. When it is buried in the shed, it does not. For readers interested in how monitoring and diagnostics apply to everyday maintenance routines, our overview of advanced diagnostics and performance tracking explores the same principle of consistent measurement.
Key Takeaways
- Rust is hydrated iron(III) oxide and forms whenever bare steel meets both oxygen and moisture.
- Mechanical removal with brushes and abrasive pads is the standard first step for most tools.
- Acids such as vinegar, citric acid, and phosphoric acid dissolve rust without abrasion and reach small recesses and fine details.
- Electrolysis handles heavy corrosion but demands ventilation and careful setup.
- Coarse abrasives on cutting edges remove good steel and ruin temper, so match grit to the task.
- Drying, oiling, and dry storage prevent most rust before it starts.
How Do You Remove Rust From Garden Tools?
You remove rust by first assessing the severity, then choosing mechanical abrasion for surface rust or acid soaking for shapes with fine detail, and finally drying and oiling the tool immediately. Heavy corrosion may call for electrolysis. The method matters less than the discipline of finishing with a dry, protected surface.
Frequently Asked Questions
What is the fastest way to remove rust from garden tools?
For light surface rust, a wire brush or steel wool with a little oil works fastest and requires no soaking time. For heavier rust, an overnight vinegar soak followed by a light scrub removes most of it with minimal effort. Combining the two approaches usually gives the best result.
Can I use white vinegar on all garden tools?
White vinegar is safe for most solid steel tools, but long exposure can dull finishes and pit polished surfaces. Limit soaks to several hours or overnight, rinse thoroughly, and dry immediately. Test on a hidden area first if the tool has a decorative or protective coating.
Does phosphoric acid stop rust permanently?
Phosphoric acid converts rust into iron phosphate, a stable dark coating that resists further corrosion and accepts paint well. It is not permanent on its own, because new moisture will eventually attack exposed steel. Pair it with a protective oil or paint for lasting results.
Is electrolysis safe for home use?
Electrolysis is safe when done correctly in a well-ventilated area away from sparks and flames, since the process produces hydrogen gas. Use a proper DC power supply and keep the setup simple. Avoid the method on tools with mixed metals or delicate tempering.
How do I stop rust coming back after cleaning?
Dry the tool completely, apply a thin coat of oil or wax to all metal surfaces, and store it in a dry place off concrete floors. Reapply protection after sharpening or heavy use. This routine prevents most rust from returning.
Should I remove rust before or after sharpening?
Remove rust first, because abrasive work on a rusty edge clogs the sharpening surface and hides the true condition of the steel. Once the rust is gone, you can see the edge clearly and sharpen accurately. Oil the blade immediately after sharpening to protect the fresh steel.
Our platform provides tools to measure your internet speed and performance accurately. AI-powered diagnostics give recommendations you can act on to improve your connection. Track your speed history and connection stability over time for a consistent online experience.
Leave a Reply
You must be logged in to post a comment.